Tuesday, 28 May 2013

The result of my ministrations.

The gang have taken it in turns to get the lurgi and it was my turn yesterday. Spent 18 hours in the sack listening to the radio ( a past time I do enjoy) and I heard a very interesting play on 'The Two Ronnies'.  So now I'm just awaiting the compulsory 24 hrs without symptoms which has given me the opportunity to catch up some on some modelling.

I tool the advice from the previous blog. I washed the figures, dried them overnight and tried another undercoat of black. Left to dry.

Today, three days later, I returned to my company and saw that the undercoat had stayed on. RESULT! The sad thing was black seems to hide the detail on these figures, grey does not. Now I know plastic isn't as forgiving as metal but compared to the like of Caesar, Airfix do come up a wee bit wanting. After examining the figures I discovered that the undercoat had sloughed off, in parts.

So with all things considered I decided to try out a 'quick wargame block painting'  technique. Part 1: A Heavy wash of burnt umber: Part 2; Paint backpack, pouches, respirator cases, puttees in Rucksac tan: Part 3; Dry brush webbing in same colour: Part 4; Finish off flesh, rifles, hair and boots: Part 5; Base and varnish.

And There You Have It.

Problem with painting plastic.

This post originally appeared on my other blog. However, as it is VBCW and wargame orientated I feel it should more rightly be here.

With the Viscountessa crook I was up early. The previous day I had primed and washed in mild soapy water a box of Airfix WW2 British Infantry, mounted them on some painting boards and left them to dry overnight. Roger so far?

First thing the (0600) I undercoated them with Humbrol Black Primer and left them to dry in the conservatory, weather was warm. When I came to check them at lunchtime I found the undercoat had cracked and upon handling them the it flaked off!

This was a deviation from my usual routine as I was trying out a different painting technique. I undercoat in 'Wilco's' Grey Primer and this has never happened before.

Any ideas as to why this happened? And/or how, or if I can overcome it?

Cheers in anticipation.

Lorcan.

Sunday, 21 April 2013

A World Aflame QRS

Well readers I've knocked up a series of Quick Reference Sheets for the above rules. They are on 'Microsoft' so I can't add it to the blog. They run to 15 pages, I hope I have captured everything but there may be some gaps. If you want a copy just email me. Address is in my profile.

Lorcan.

Monday, 15 April 2013

Some progress, but not a lot.

Well I've struggled with this blog. But Nils Desperandum, I'll plow on.

Finished off my Anglican League.

Command Team

I need to get to get to grips with with my close up photos.

Peoples Army

Peoples Army 2


Field Fences (WIP)

There are other bits kicking around.

Wednesday, 27 March 2013

Finished terrain and some BUF Troops in the Line

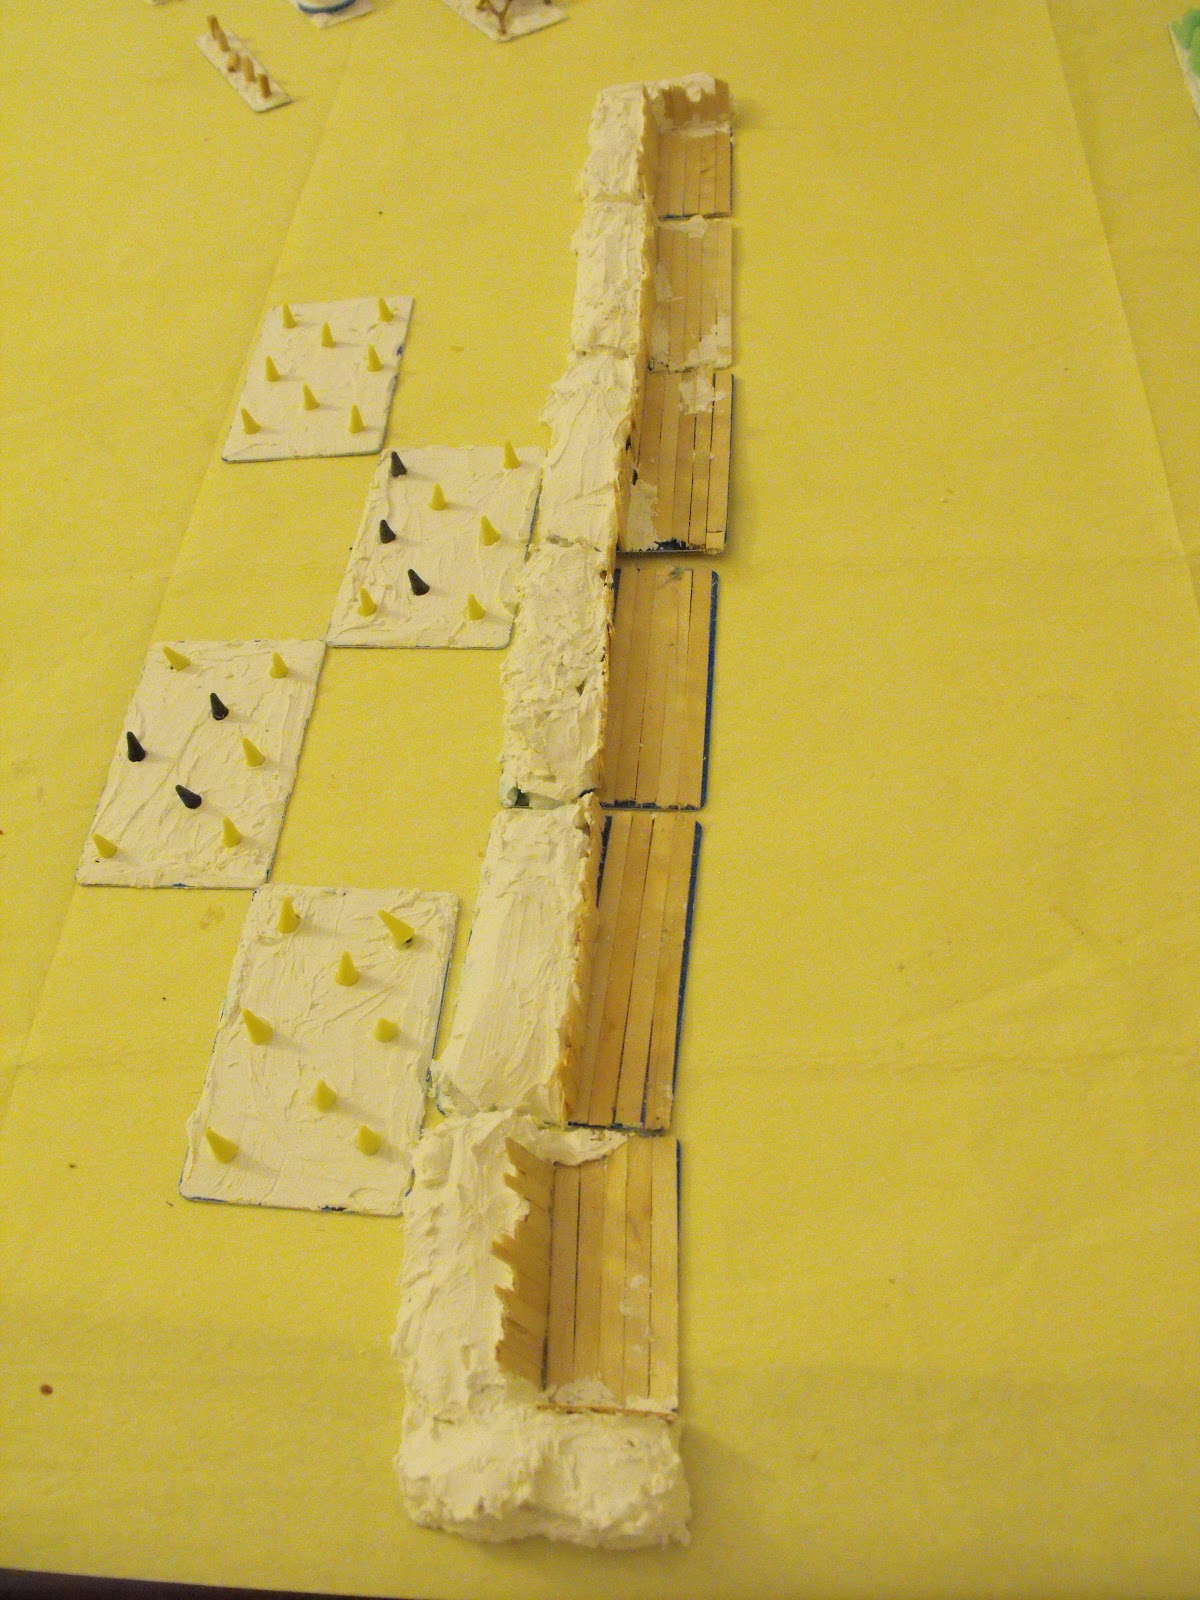
A fortnight ago I started on some 'credit card' scenery. Well its 'lates' week again and I've managed to finish them off.

Trench System and HQ dugout
From the Front
(forgot to paint the tank traps)

Some Terrain!

It was my week of lates so last weekend I prepped and undercoated a box of plastic WW1 'Doughboys' to paint up. However the Viscountess and the Lord had other things planned. Monday saw me spending the morning transporting trash to the tip; Tuesday and Wednesday was spent under medical attention sorting out my drug regimen and blood tests, they weren't able to stop my heart last week as my blood was too thick. So no painting. I did manage to grab a couple of hours a day for our hobby and to put together some bits of terrain.  All built on credit card size bits of plastic and off cuts. All require painting and finishing.

Ditto from the Front


A Trench with Tank Traps


Cards, sliced in half, ripped up sponge to hedging 

Add caption


A Terraced Housing Build (last Part)

Final day of lates and I want to finish this build.


The rear of the property is done like the front. Pins hold the build together whilst the glue sets.


Stirrers and matches add the step and window ledges.


A background of roof tiles photocopied and reenforced with wooden stirrers. Some chimneys scavenged from another card model.

Bamboo skewers for down pipes
The finished piece. I'm fairly happy with it but it is allot of work for something that WWG or Stol would do which could be done in a third of the time. Would it be any easier to make a pre-bought model? I can't be bothered to base it yet, even if I do. 

I think that will do for building at the moment and I'll get to painting up some figures next.

Thanks for all your comments guys, most appreciated.

It's looking remarkably like spring here. No rain and the sun's shinning!

Take care. Lorcan.